Stringing
In-the-field repairs, partial restringing, and complete stringingLearn how to restring a piano in a day! Of course there’s a ton of tricks, and it’s more than just “throwing on” a new string. Teardown, rescaling, downbearing, and many other issues must be taken into consideration. Especially for the beginner, Jim will take you through this tutorial and help you develop your stringing skills so that the occasional stringing job will be a welcomed change of pace from the usual service calls.

Table of contents
Chapter 1 - Introduction
- A: Four reasons to restring
- B: Selling the job to clients
- C: Things to consider: When you really should do more than just restringing
- D: Rescaling issues
- E: Downbearing measurements
- F: Partial restringing jobs
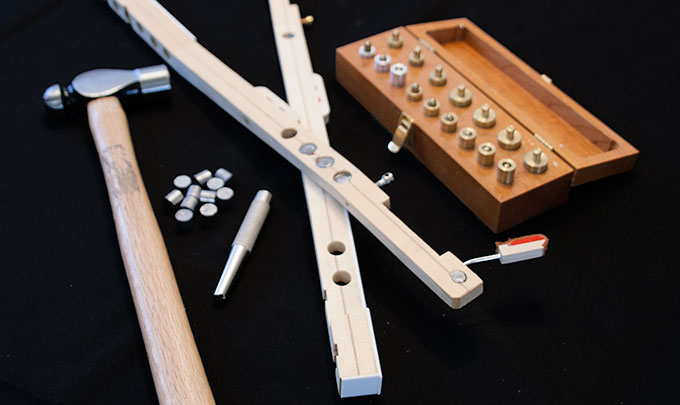
- G: Tools needed
Chapter 2 - The teardown
- A: Measurements and pictures
- B: Make sure before you cut
- C: Removing the old strings
- D: Cleaning it up
- E: Dressing the bridge
- F: Replacing felt, etc.
Chapter 3 - The grand piano: 2 different methods
- A: Stringing with new tuning pins and new bridge pins: Why?
- B: Agraffe removal, replacement, and renovation
- C: Stringing w’o removing the old pins: Why and how
- D: Bass string replacement
- E: Upper section replacement
Chapter 4 - The upright piano
- A: A look at the whole job: Upright considerations
- B: Stringing from bottom to top, or is it top to bottom?
- C: Doing the whole job
Chapter 5 - “Prepping” the new strings
- A: First, do no damage
- B: Chipping 101
- C: String prepping: An order for speed and precision
Chapter 6 - Followup
- A: “Re-prepping” the strings
- B: Making the next technician “like” you (Don’t be the guy he hates)